
Players rarely hold the racket the same way for two shots in a row. Good players change their grip constantly, often between every shot, by small rotations of the handle and shifts of the thumb and fingers. Knowing the main grip types, and when each one is used, is what lets you hit clean shots from every part of the court.
This guide is a reference to the main badminton grip types: how each is formed, which shots it is used for, and how to practise switching between them. If you are completely new and want a step-by-step introduction to holding the racket, start with our beginner’s guide to holding a badminton racket.
Why Grip Choice Matters
Your grip sets the angle of the racket face and how freely your wrist and forearm can rotate. The right grip for a shot:
- Presents the racket face squarely to the shuttle, so you control direction
- Lets you use forearm rotation and finger power rather than just your arm
- Reduces strain on the wrist and elbow
- Makes fast transitions between forehand and backhand possible
Bad grip habits, such as holding every shot with a flat “frying pan” grip, are hard to unlearn later, so it pays to learn the main grips early.
A quick note on the handle itself: badminton handles are roughly octagonal, with eight surfaces called bevels: two wide surfaces parallel to the strings, two narrow edges in line with the frame, and four angled bevels between them. Grip descriptions refer to these surfaces.
1. Forehand Grip
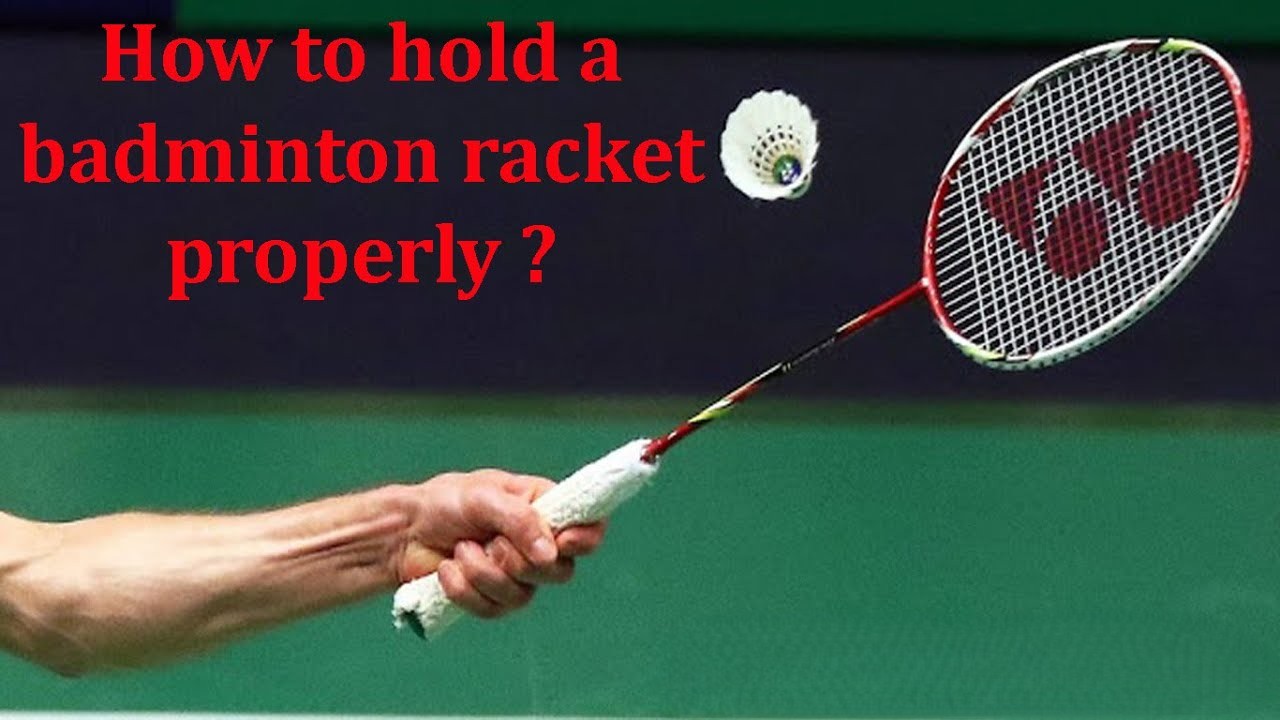
The forehand grip is the basic grip for most shots on your racket side and for overheads.
How to form it
- Hold the racket by the throat with your non-racket hand so that the frame edge points towards you and the strings face sideways.
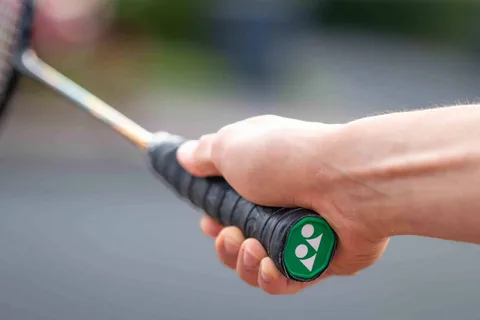
- “Shake hands” with the handle: the V between your thumb and index finger sits on the narrow edge in line with the frame.
- Spread the index finger slightly up the handle, like a trigger finger. Wrap the other fingers loosely.
- Leave a small gap between your palm and the handle. You should be able to slide a finger between them.
When to use it
- Overhead clears, drops and smashes
- Forehand drives and lifts
- Forehand net shots and net kills
For power shots, hold the forehand grip loosely during the swing and squeeze firmly at the moment of contact. This tightening at impact is sometimes called a “power grip”, but it is the same forehand grip, not a separate one.
2. Backhand Thumb Grip
The standard backhand grip, often simply called the thumb grip, is used for shots on your non-racket side in front of and beside your body.
How to form it
- Start from the forehand grip.
- Rotate the handle slightly so that the pad of your thumb lies flat on the wide back bevel, the one parallel to the strings.
- Your thumb now pushes the racket through the shuttle, acting as a lever.
- Keep the other fingers relaxed so you can return to the forehand grip quickly.
When to use it
- Backhand drives and pushes
- Backhand net shots and net kills
- Backhand defensive blocks and lifts from the mid-court
- The backhand serve, used widely in doubles. For serving technique in detail, see our guide to forehand vs backhand serve techniques.
3. Bevel Grip
The bevel grip is a backhand variation in which the thumb sits on the angled bevel rather than the wide back bevel.
How to form it
- Start from the backhand thumb grip.
- Rotate the handle so the thumb moves onto the angled bevel next to the wide back surface.
- The racket face now opens slightly, which helps lift the shuttle from low positions and hit from the rear court.
When to use it
- Backhand shots from the rear backhand corner, including backhand clears and drops
- Backhand lifts and net shots when the shuttle is low and close to the side line
- Defensive returns where you need to lift the shuttle from below
Many players use the bevel grip without realising it. It is a natural adjustment when the shuttle is too far behind or too low for a flat thumb grip.
4. Panhandle Grip
The panhandle grip is named after holding a frying pan. It is the grip most beginners use instinctively, and it is useful for one specific job.
How to form it
- Lay the racket so the strings face the net, the face square to your target.
- Grip the handle with your palm behind the wide bevel, as if holding a pan.
- Hold the racket up in front of you, with a short backswing.
When to use it
- Net kills and quick taps at the front of the court, especially in doubles
- Fast pushes and interceptions where there is no time for a backswing
The panhandle grip blocks forearm rotation, so it cannot produce power on clears or smashes. If you use it for everything, your shots will lack length and you will struggle with your backhand side.
5. Multi-Purpose (Universal) Grip
In fast exchanges, particularly in doubles drives and defence, many players hold a neutral grip partway between forehand and backhand. The thumb sits on an angled bevel and the hand is very relaxed, so the racket can play either side with a small finger adjustment. It is a practical compromise rather than a fixed technique, and coaches vary in how they describe it.
When to use it
- Flat drive exchanges in the mid-court
- Receiving smashes in doubles defence
- Quick reactions where there is no time to change grip fully
Grip Types at a Glance
| Grip | Thumb position | Main shots |
|---|---|---|
| Forehand | Wrapped around the handle; V on the frame-edge bevel | Overheads, forehand drives, lifts, net shots |
| Backhand thumb | Flat on the wide back bevel | Backhand drives, pushes, net shots, backhand serve |
| Bevel | On the angled bevel | Rear-court backhands, low backhand lifts |
| Panhandle | Behind the handle, strings facing the net | Net kills, front-court interceptions |
| Multi-purpose | On an angled bevel, relaxed | Drive exchanges, doubles defence |
Tips for Mastering Grip Changes
- Stay relaxed between shots. A tight grip makes changes slow. Hold the racket loosely and tighten only at contact.
- Use your fingers, not your whole hand. Most grip changes are small rotations made by the thumb and fingers.
- Return to a ready grip. After each shot, return to your neutral grip, usually a relaxed forehand or multi-purpose grip, during recovery.
- Keep the handle in good condition. A slippery overgrip makes you squeeze. Our guide to overgrips and grip enhancers explains how to choose and fit one.
- Check handle thickness. A handle that is too thick or too thin makes grip changes awkward. Adding or removing an overgrip changes the size.
Drills to Practise Grip Changes
- Grip-change rotations. Without a shuttle, hold the racket in front of you and switch between forehand and backhand thumb grips 20 times, using only your fingers. Then repeat with your eyes closed to build feel.
- Wall drives. Stand two or three metres from a wall and hit alternate forehand and backhand drives, changing grip on every shot.
- Feeder alternation. Have a partner feed alternately to your forehand and backhand at the net. Focus on changing grip before you reach the shuttle.
- Rear-court backhands. Have a partner feed to your deep backhand corner and practise switching to the bevel grip as you turn.
Which Grips Should You Learn First?
- Beginners: learn the forehand grip and the backhand thumb grip first. Those two cover the large majority of shots.
- Improving players: add the bevel grip for rear-court backhands and low lifts, and use the panhandle grip deliberately for net kills.
- Doubles players: work on fast changes and a relaxed multi-purpose grip for drive exchanges and defence.
- Singles players: prioritise smooth changes between forehand and bevel grips for movement into the rear corners.
Grips work alongside the rest of your equipment. For the other small items that help you hold and control the racket, see our checklist of essential badminton accessories.
Frequently Asked Questions
How tightly should I hold the racket?
Loosely, most of the time. Many coaches describe a relaxed grip as holding it just firmly enough that it would not fall out of your hand. Tighten at the moment of contact for power shots.
Is the panhandle grip wrong?
No, but it is a specialist grip for net kills and front-court interceptions. Using it for all shots limits power and makes backhands very difficult.
How long does it take to change grips naturally?
It varies, but with regular practice most players start changing grips without thinking within a few weeks. Drills like the ones above speed this up.